A Hoboken Family Renovates Their First Home

In 2018, the Douglas family purchased their first 3-story multi-unit home on Washington Street in Hoboken knowing it would need some updates and rehabilitation. Reserving the third-floor apartment for rental income, the family set out to create a duplex home for themselves and their son.

The clients felt the apartment was dated and carried a negative energetic feeling. Since this was their first home, it was important that everything inside was thoughtfully chosen for their family’s lifestyle rather than remnants of another family’s existence.  So we set out to renovate the two floors of living space customized to meet our client’s vision.

The two major problems in the apartment were the un-level floors and lack of insulation. We mutually decided against trying to level the floors due to the sheer scope of the work involved to level a historic home, so precision was key in installing all the cabinetry, island, and appliances level and at a consistent elevation. We also installed new windows throughout the apartment to reduce drafts as well as decommission the old boiler and hot water heater systems in exchange for a Unico high velocity hot air/cold air HVAC system, boiler and condenser. Walls and trim, closets, and lighting also got upgrades. But the biggest transformations were the kitchen and bath.   

AFTER

AFTER

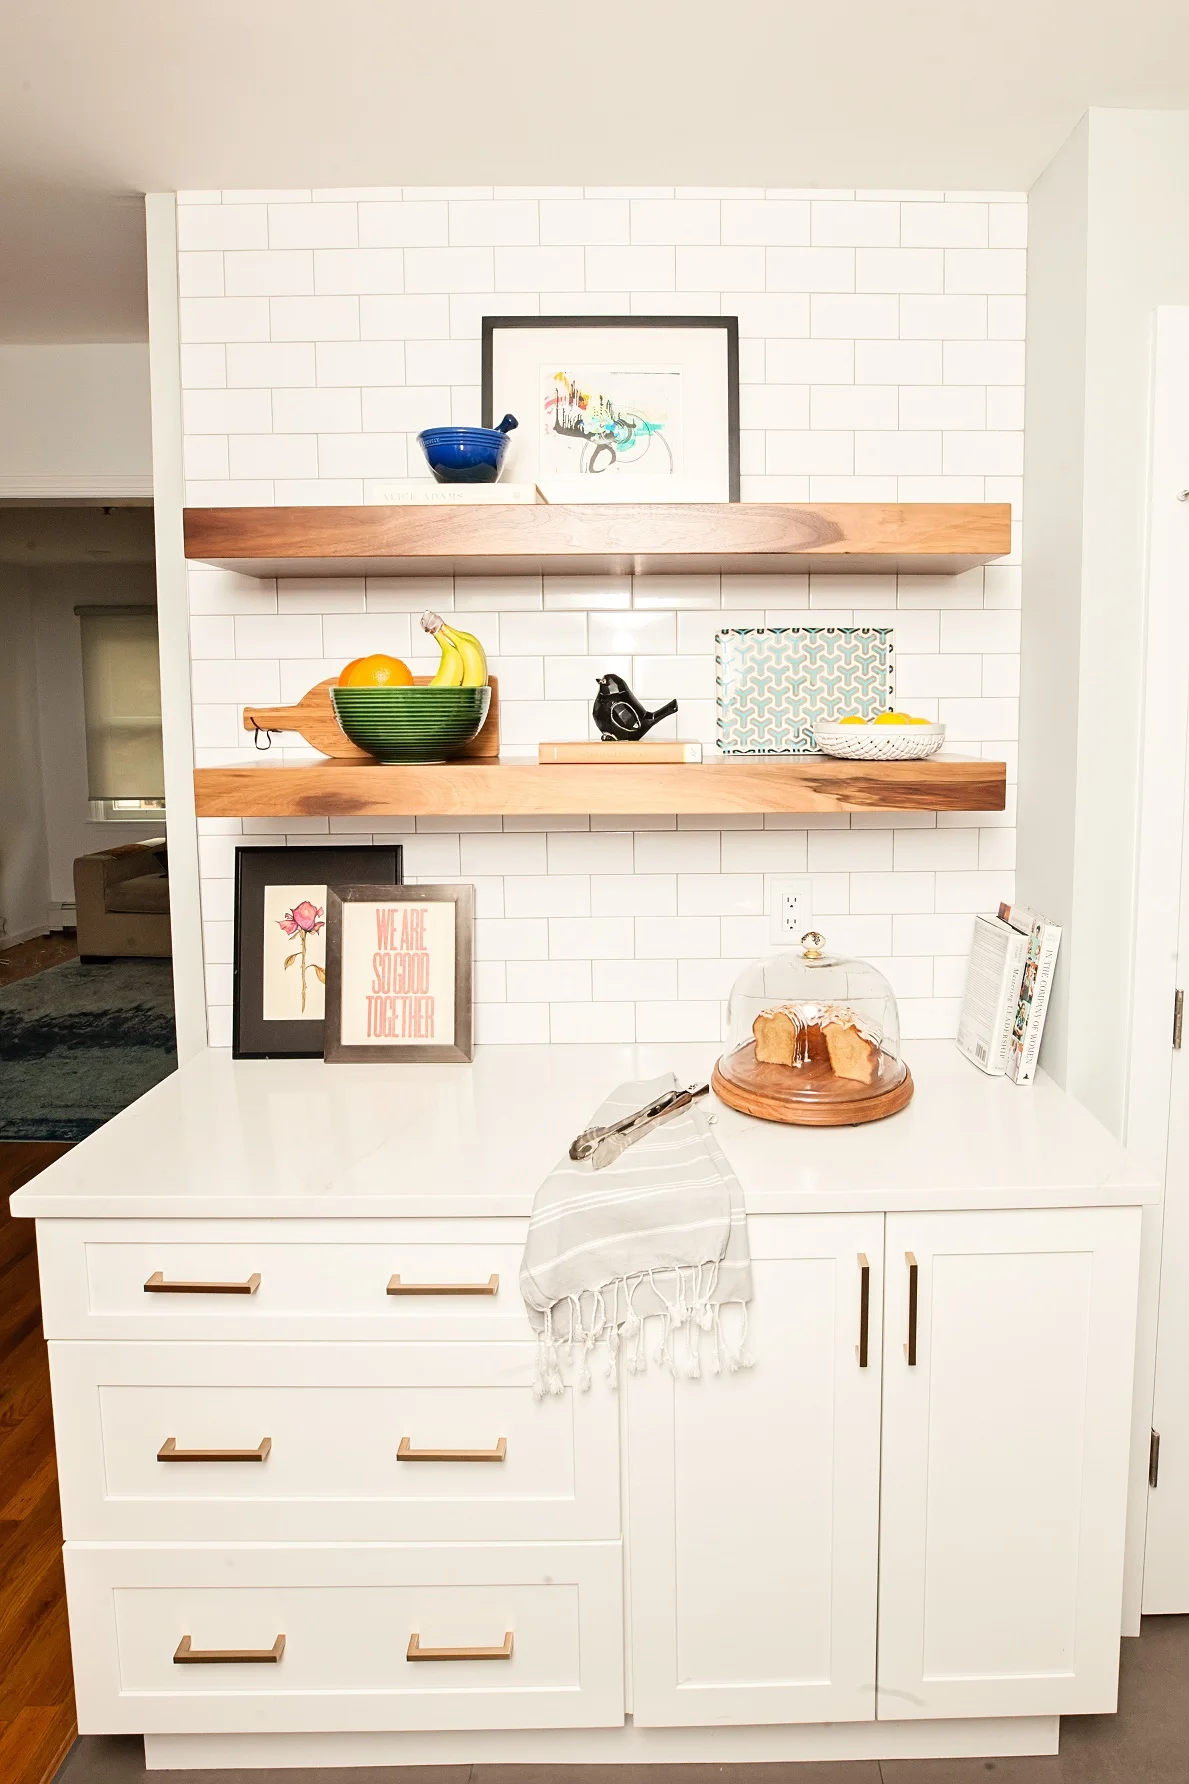
The existing dated kitchen had an awkward layout that did not hold all the fixtures, appliances and seating needed for this modern family. With the help of our in-house interior designer, we rearranged the floor plan and added an island to establish the room as a living space to gather with friends and family while any cooking or meal prep was going on. New large windows installed facing Washington Street, Hoboken’s main strip of retail shops and residential brownstones, allows the family to still feel connected to their bustling neighborhood within the tranquility of their new home.

AFTER

AFTER

AFTER

AFTER

The client’s goal was to achieve the “dark floors and light walls” palette in the kitchen, and that motif generally continues throughout the apartment with warm toned woods and cool paint colors. The bathroom follows suit with warm gray floors, shiny fixtures and white tile and cabinets.

Our clients love the results of their newly renovated home. “We’re truly happy with our renovation and are glad for the way that Andy and his team kept us informed all along the way…Now it feels light and yet still warm, and is a lot more engaging with the community even while sitting inside the kitchen.”

AFTER

AFTER

AFTER

AFTER

AFTER

AFTER

AFTER

AFTER

Items selected for the kitchen include Kohler Simplice in Vibrant Stainless, pulls from Pottery Barn, Elegant Kitchens Fabuwood Galaxy Frost and Cobblestone shaker style cabinetry, Calacatta Lazza counters and backsplash, Shades of Light Pendants, McGee & Co Sconces and Sherwin Williams Fleur De Sel paint on walls.

Bathroom materials include Fabuwood Galaxy Frost Shaker Style cabinets, Pottery Barn Medicine Cabinet, Kohler Kelston faucet and controls, Calacatta Classique counterop and corner shelves, Rejuvenation Massey drawer pulls and Benjamin Moore Wickham Gray paint on walls.  

To see more photos of this project, check out our Projects page or our Houzz profile.

From Dark & Depressing to Light & Airy: A Family of Four Gets a New Kitchen and Bathroom

When our clients, Robert and Dana purchased their apartment 8 years ago, they thought a home renovation would be in their near future. The kitchen was furnished with original builder grade cabinets and the bathroom was a DIY job by the previous owners. The dated rooms made the unit feel dark and depressing - far from their exuberant personalities and lifestyle they lived. But once they were moved in and settled, our clients were blessed with twin boys and all home remodeling projects were put on the back burner.

AFTER

AFTER

Once their children were older, renovating the kitchen and bath felt like a project they could finally take on. The dark colors and finishes had started to take a toll on them, so they wanted something light and airy to come home too. “When you walk in your front door and your first thought is ‘Good Lord this place is depressing’ it's time to make a change,” Dana said. 

BEFORE

BEFORE

Dana and Robert wanted more light which is a challenge in most apartments. Their kitchen did not have windows and they are a middle unit so the windows they do have are in back and front of the unit only. The trick here was installing extra recessed lighting, light paint colors and white cabinets. 

While Dana had a very clear idea of what she wanted overall (light, clean, transitional to modern feel), she didn’t have time to select all the materials and visit all the showrooms, so we brought in our long-time design partners Virginia and Jessica at Toledo Geller to help pick paint colors and source products. Dana recalls, “That service was invaluable as it saved me so much time and helped me make decisions quickly.  Access to design help coupled with Andy's knowledge and professionalism is exactly why we hired Thompson.”

KITCHEN CONCEPT BOARD

KITCHEN CONCEPT BOARD

AFTER

AFTER

AFTER

AFTER

Items selected for the kitchen include Kohler plumbing, pulls from Top Knobs, Elegant Kitchens Fabuwood shaker style cabinetry, Caesarstone counters and backsplash, Porcelanosa floor tiles and Benjamin Moore paint.

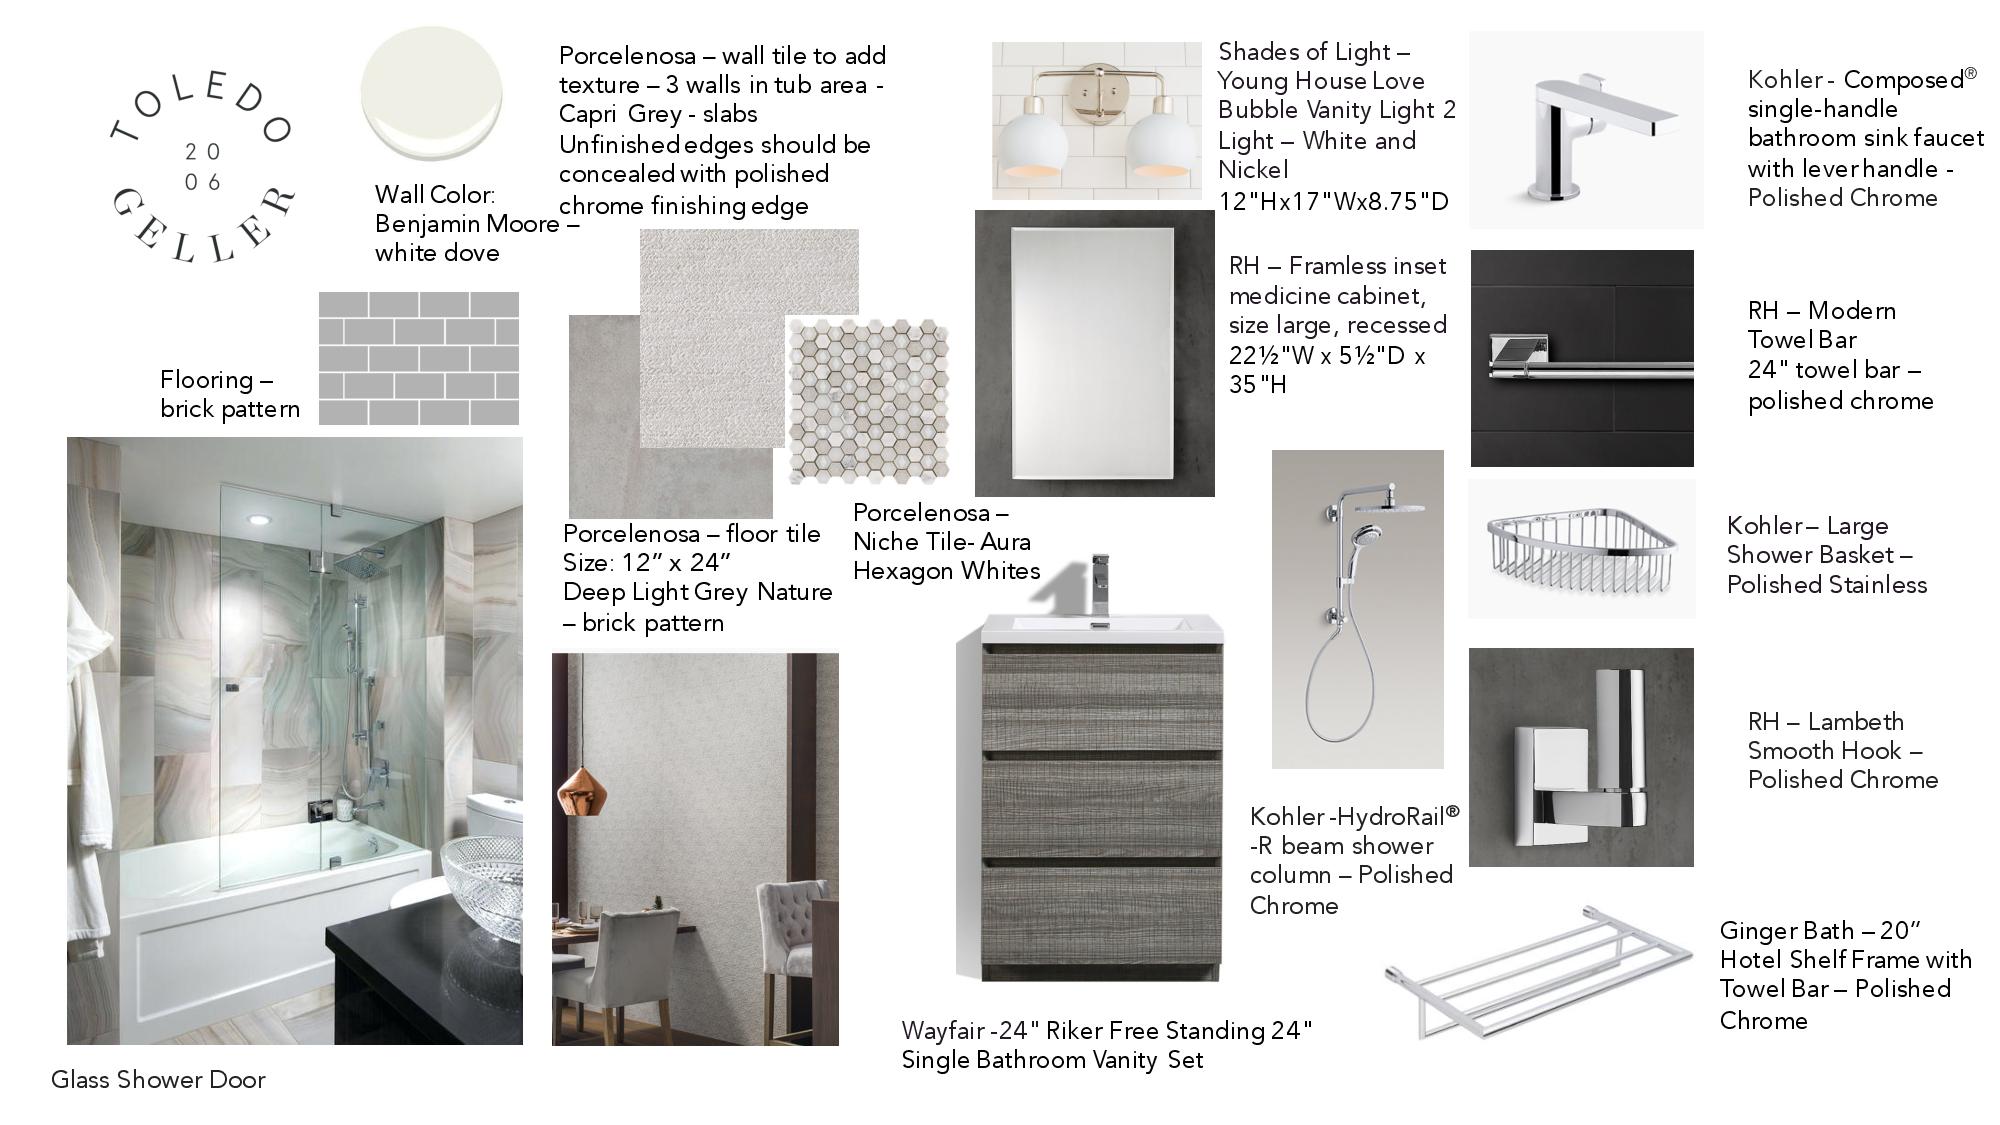
BATHROOM CONCEPT BOARD

BATHROOM CONCEPT BOARD

AFTER

AFTER

AFTER

AFTER

Bathroom materials include Porcelanosa textured wall tiles for the tub area and medium grey floor tile. Shades of Light vanity lighting, Restoration Hardware medicine cabinet, robe hook and towel bar, Kohler plumbing, and an Orren Ellis Riker floating vanity from Wayfair.  

To see more photos of this project, check out our Projects page or our Houzz profile.

Hoboken Condo Bonus Room Turned Nursery

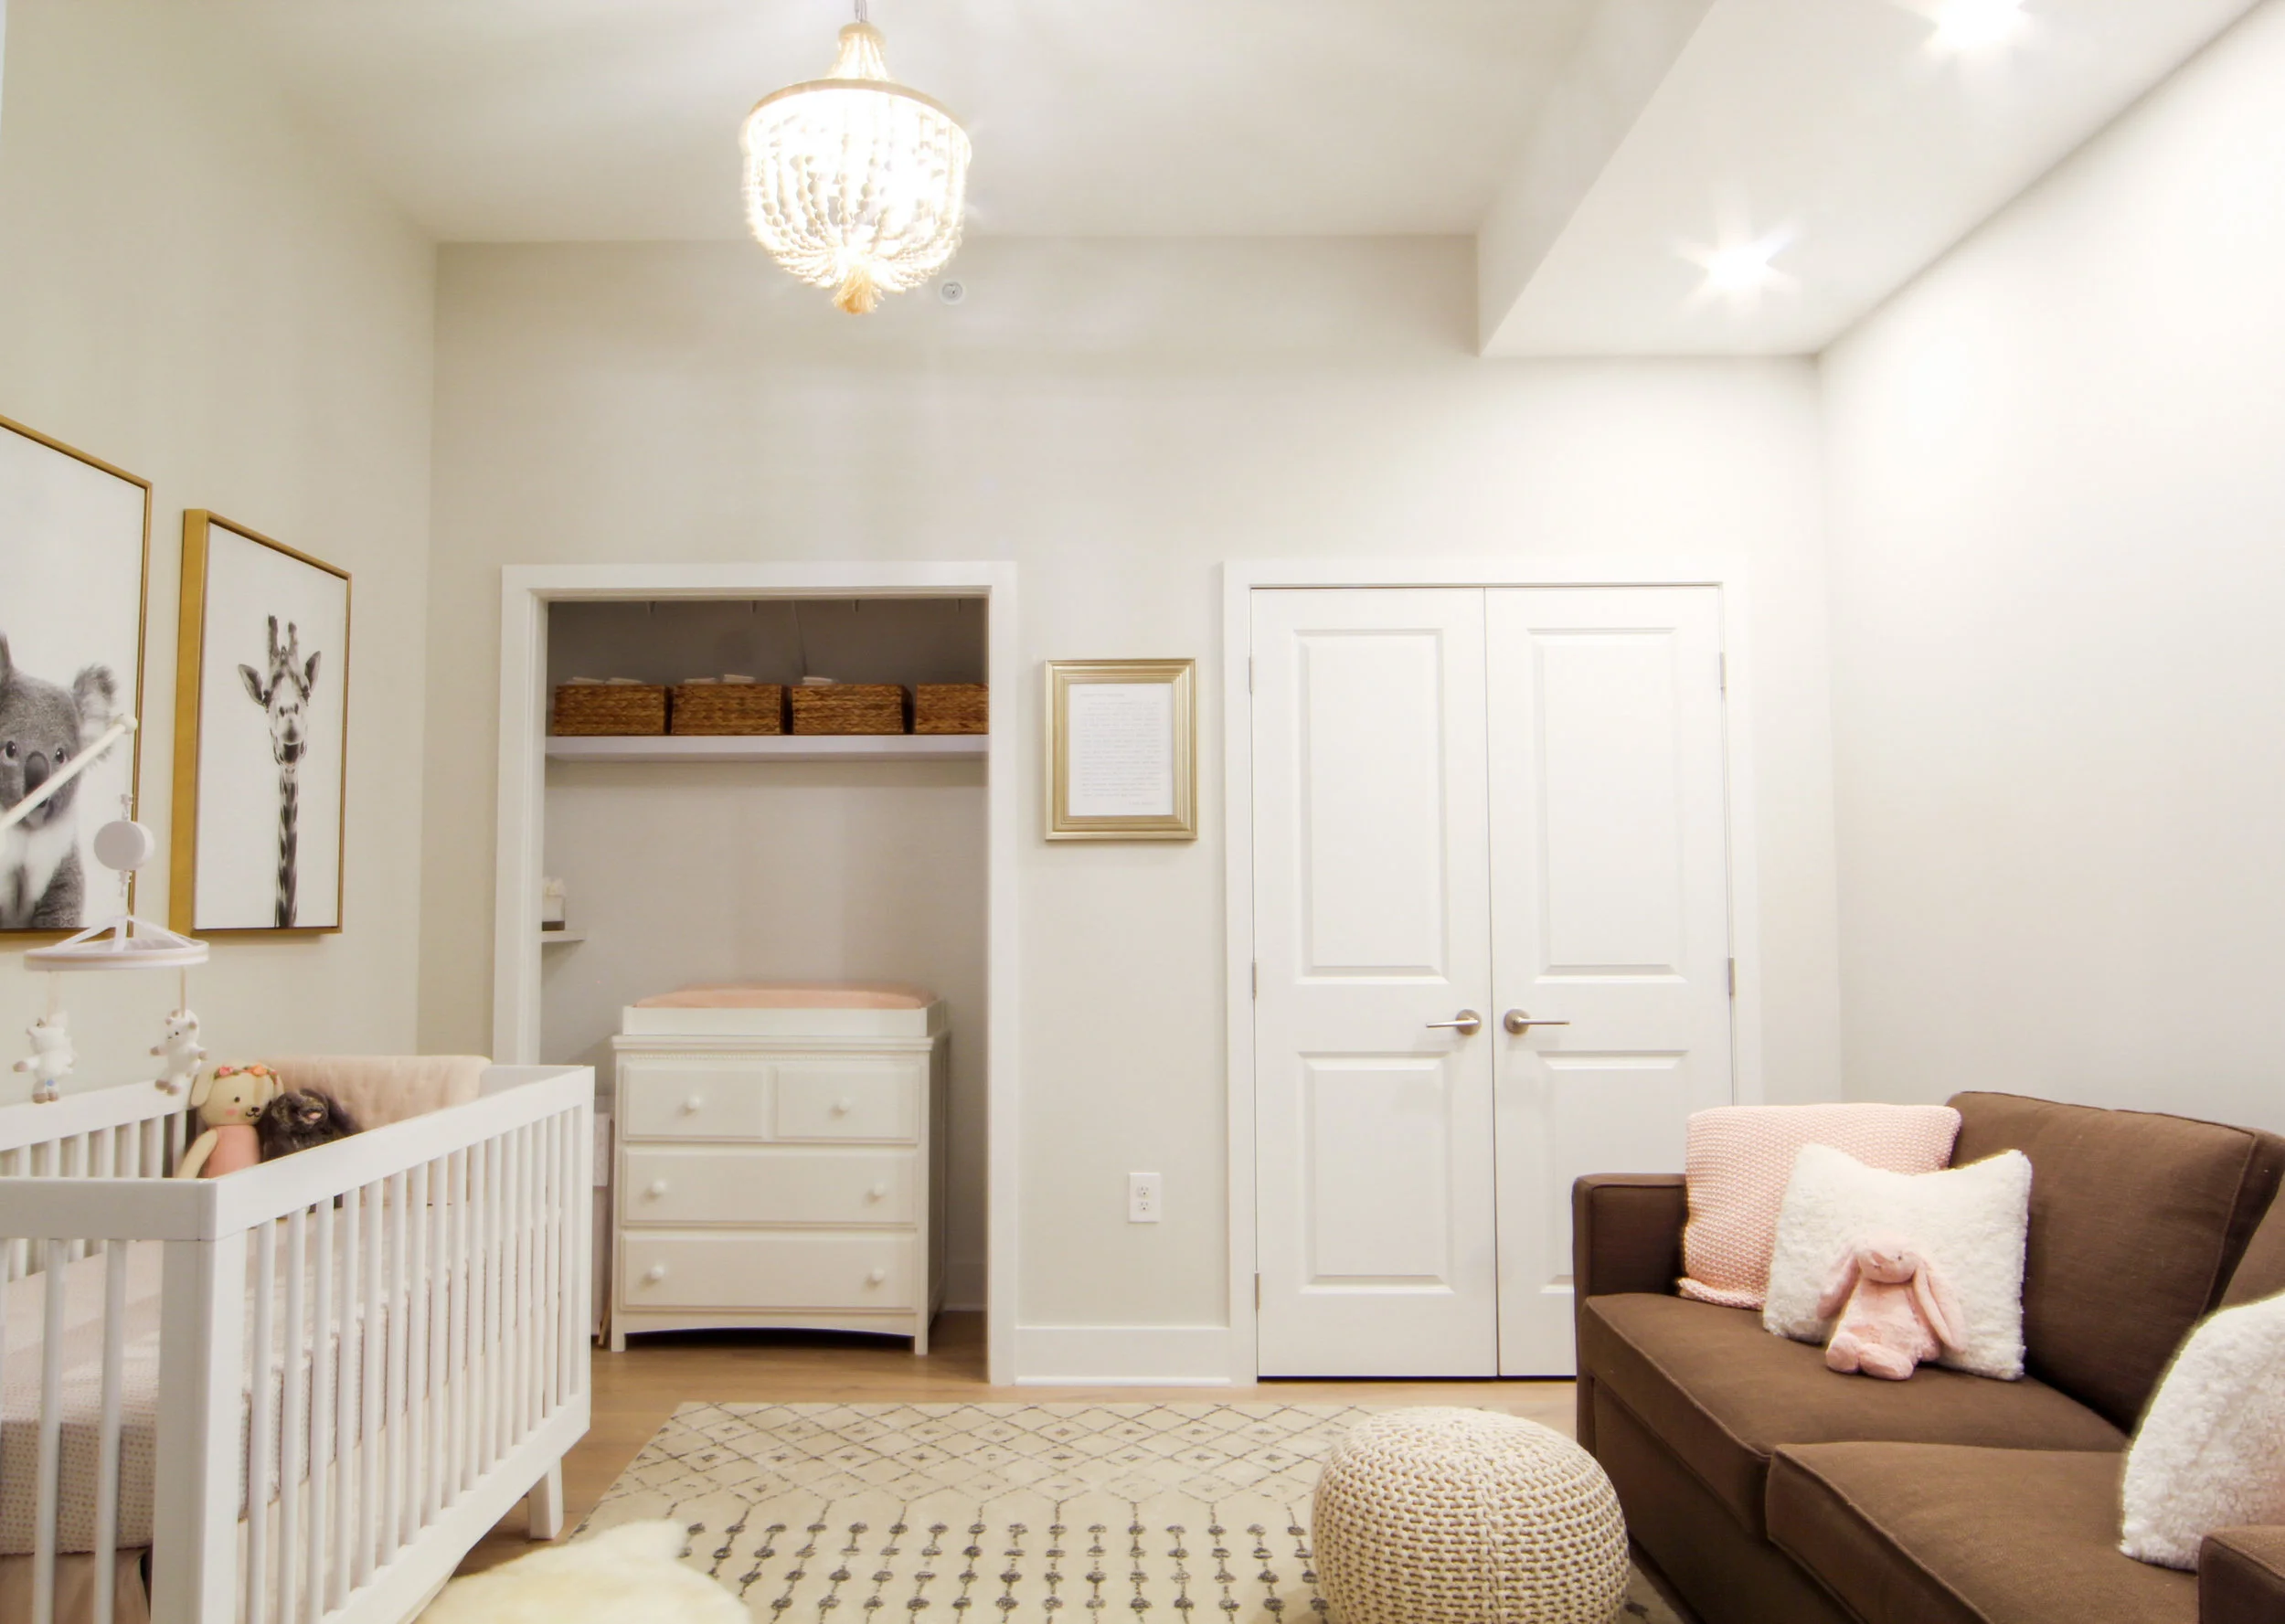
Chris and Lauren made the move from Manhattan to Hoboken in 2017 wanting more space and a “neighborhood” vibe for when they started a family. They bought their condo with the intention of converting the front room into a nursery. They loved that it had 2 big closets and was a good size for a baby/toddler. Before calling us to convert it, they had a desk and a couch there, but never really put much effort into decorating it. 

AFTER

AFTER

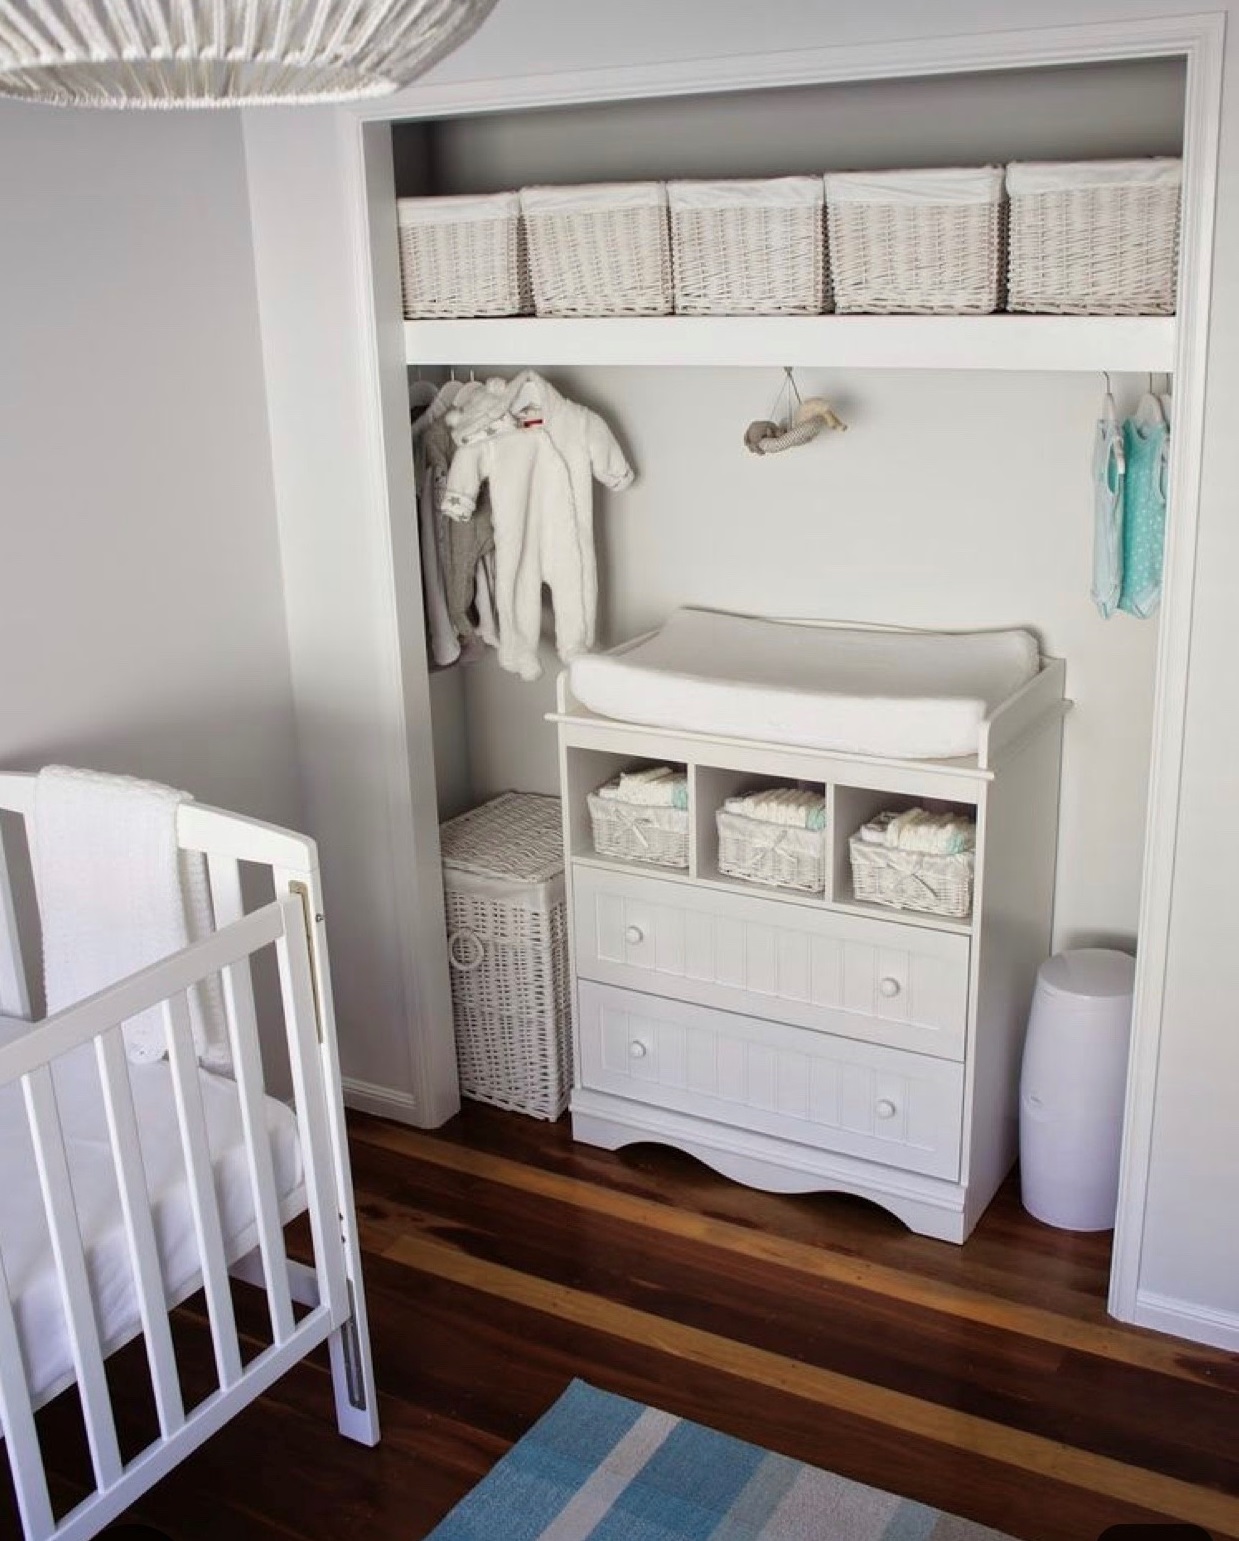
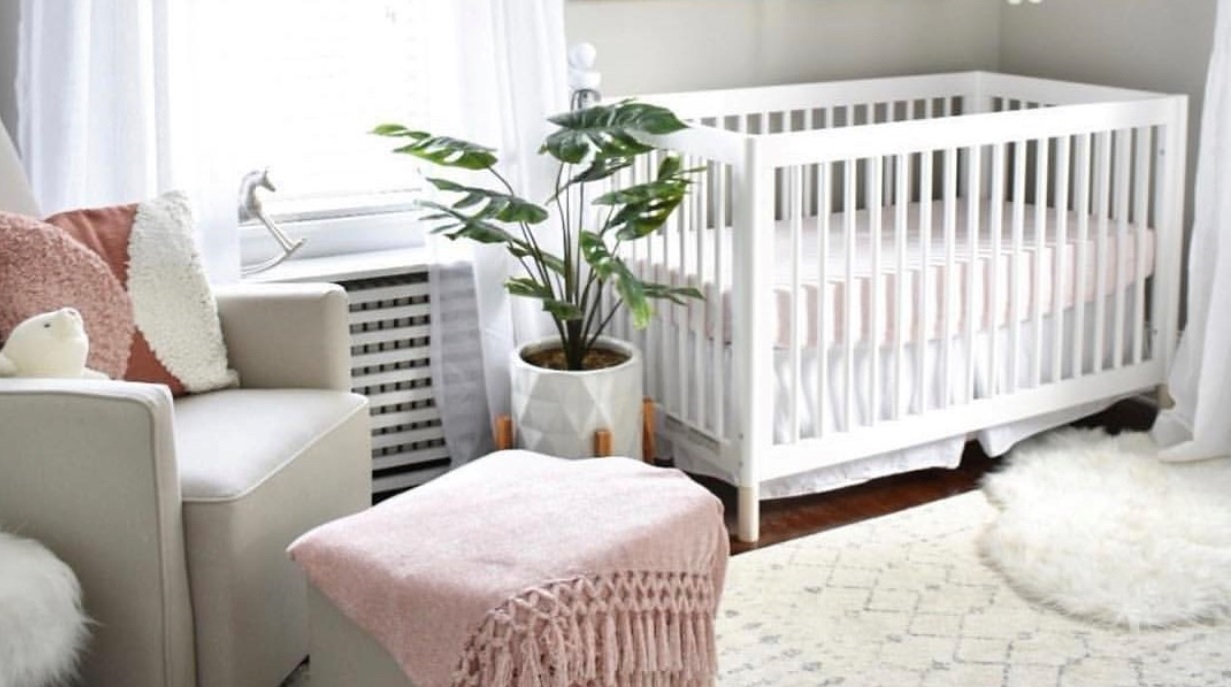
As soon as they found out they were expecting, Lauren was excited to get started on nursery design. They knew they were having a girl, so they opted for pinks and neutral tones. Given the condo’s limited space, keeping the pull-out couch for when guests visited was a requirement. To make the most of the space, Lauren found the idea of converting one of the closets into the baby’s changing table/station.

INSPIRATION PHOTO

INSPIRATION PHOTO

INSPIRATION PHOTO

INSPIRATION PHOTO

AFTER

AFTER

Chris and Lauren then hired us to complete the conversion. This project may look understated but is packed to the hilt with secret savviness. The ceiling of this room is concrete due to the deck of the condo unit above, so we built a conduit to host all the electrical components we added to the room. To keep the room aesthetically appealing, it was built to remain out of one’s sight line as they enter or pass the room.

AFTER

AFTER

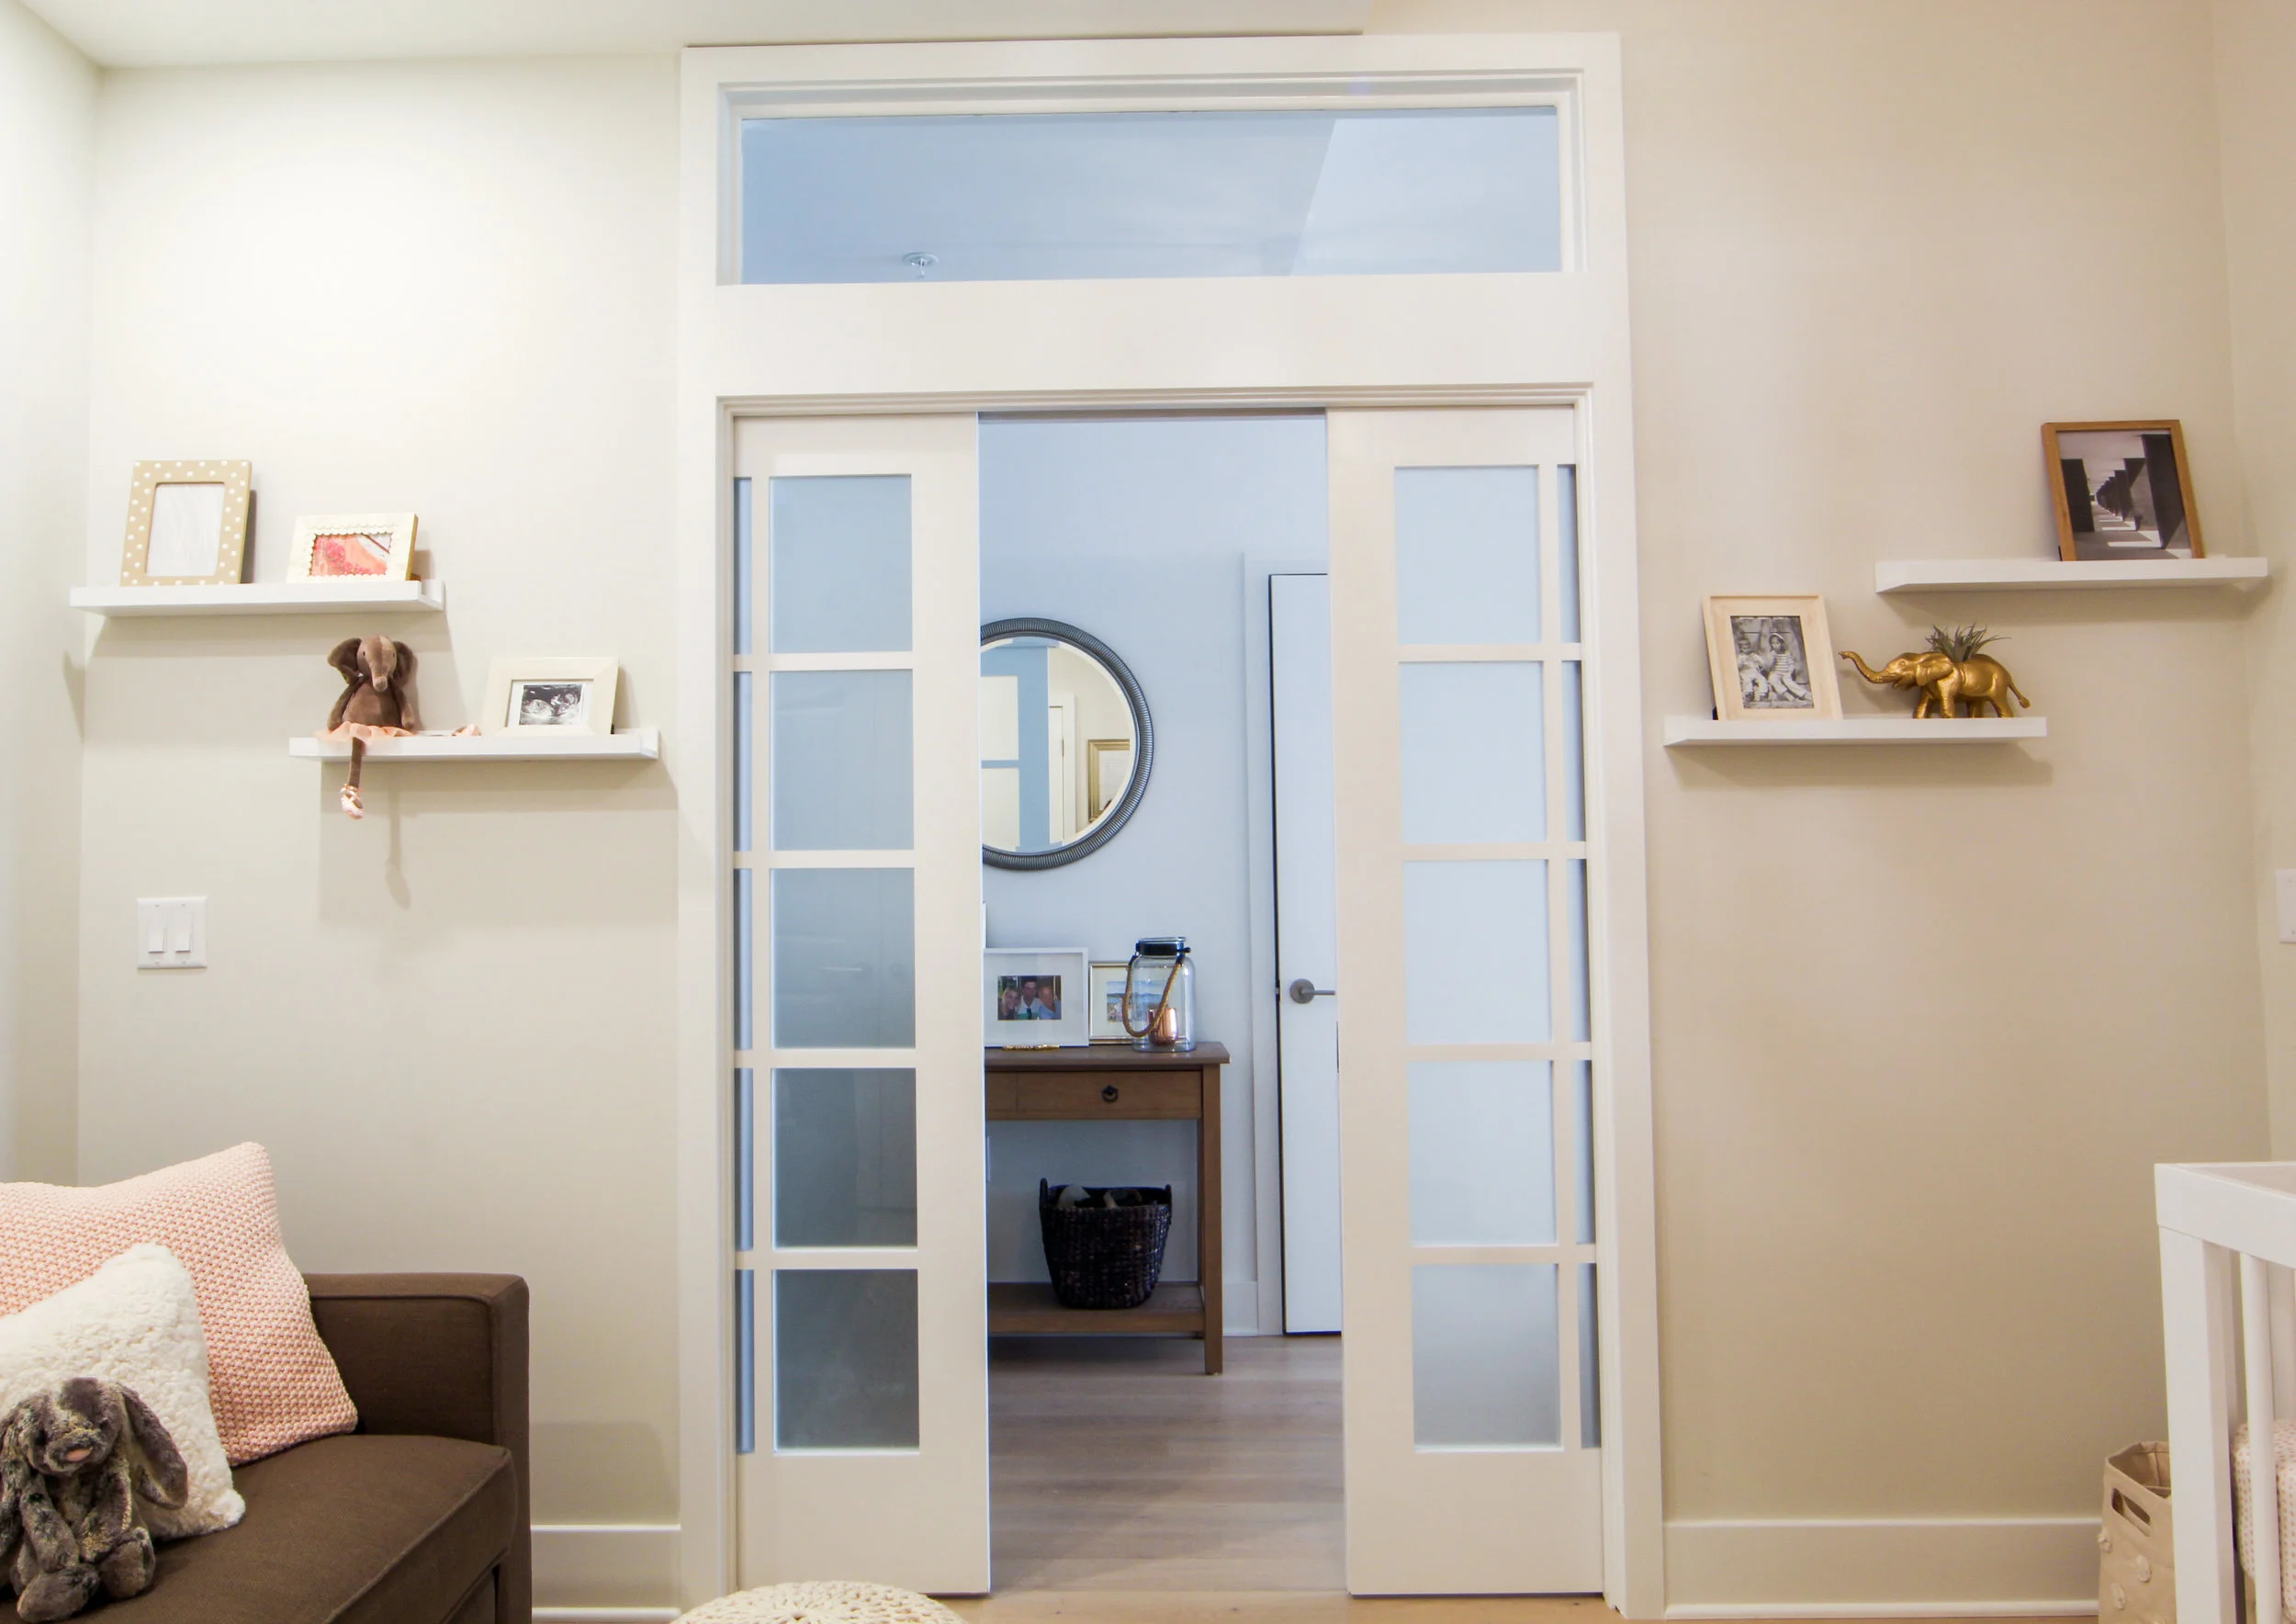
We also installed convergent door pockets from Johnson Hardware with a soft open/close feature and frosted glass panels for privacy (doors from General Lumber). The transom was added to bring in more natural light and was not part of some door kit either – we custom cut it and inserted laminated safety glass. The trim going from the floor up and around the transom is also a carpenter’s feat – a parallel reveal framing the door and transom must be constantly considered from the beginning of framework through installation.

IN PROGRESS

IN PROGRESS

AFTER

AFTER

AFTER

AFTER

To see more photos of this project, check out our Projects page or our Houzz profile.

Black and White Done Right in this Hoboken Condo Master Bathroom

Patience is a virtue when saving up money for home improvements. Especially for our client, Caitlyn, who consulted with us a full year before we even picked up our crowbars.

AFTER

AFTER

Caitlyn’s bathroom floor tiles were peeling off and imagined the scope wouldn’t go beyond repairing the floor. But as any old-home owner knows, opening up one wall (or floor) commonly leads to a domino effect of other discoveries that can’t be left untreated. So Caitlyn waited a full year before calling us back to fully renovate her master bathroom.

BEFORE

BEFORE

Not surprisingly, once the walls were down we discovered black mold resulting from years of a leaky shower.

BEFORE

BEFORE

The most rewarding ‘before & after’ in this bathroom was the shower entrance. Originally there was only a swinging door hinged to a wall that enclosed the shower. In its place we installed a full glass custom shower enclosure that opened up the room making it feel spacious and bright.

BEFORE

BEFORE

AFTER

AFTER

Caitlyn provided our in-house designer an inspiration photo that was bold and modern. We executed upon her vision with Porcelanosa black and white marble floor tiles – each individually laid to get that perfect modern checkerboard feel. The floor-to-ceiling Porcelanosa Irish Blanco textured wall tile provides a luxe backdrop to the floor and custom black walnut vanity from Northeast Furniture Studio. We chose the Kohler Purist collection for the sink and shower fixtures. Caityln sourced the matte black wall sconces from the Etsy Store, Illuminate Vintage.

AFTER

AFTER

AFTER

AFTER

To see more photos of this project, check out our Projects page or our Houzz profile.